How to Close Your Pool in 9 Steps

how to close your pool

The dog days of summer may still be upon us, but it will be fall before you know it. Early September is still prime swimming time in Cincinnati, but soon your beloved pool will need to close for the winter season. Have you thought about how to close your pool?

Knowing when to close your pool can be tricky. Experts recommend closing your pool when the temperature outside consistently is 65 degrees Fahrenheit or below, and the water temperature consistently dips below 60 degrees. If you close your pool while it’s still warm out, you may be dealing with algae growth and green, unsanitary water come spring. With the unpredictable weather in Cincinnati, you may need to play it by ear to determine when to close your pool.

When the right time to close your pool does come, closing your pool for the season can be a challenge. There are several steps you need to take to make sure your pool doesn’t get damaged during the freezing cold conditions of winter. While we always recommend calling in the experts if you’re not a confident DIY-er, this guide will help you winterize and close your pool properly in 9 simple steps.

Step One: Clean the Pool

The first step before you start to close your pool is to clean it thoroughly. You’ve likely kept up with basic cleaning throughout the summer, but you should give your entire pool an extensive cleaning before closing it for the winter.

First, skim the surface of the pool with your skimmer net to remove leaves and other debris that may be floating on the surface of the water.

Next, brush the sides of the pool with a pool brush, making sure to scrub away any dirt or grime that has built up, especially at the water level. Pay extra attention to the stairs and ladder, or other areas with poor water circulation. 

You should also vacuum the bottom of the pool with a pool vacuum to remove any debris that has settled at the bottom of the pool. Make sure your water is as clean and clear as possible. Any missed debris can clog the filtration system over the winter season.

Finally, clean out your skimmer baskets of any debris. You may also want to wipe or hose out the skimmer baskets if they’re slimy or dirty.

Step Two: Test and Balance the Water

While you’ve been testing and balancing your water chemistry throughout the summer, you will need to thoroughly test and balance your water one last time before closing your pool. It’s imperative your pool has the proper chemical levels before you start the winterizing process to make sure your water stays sanitary while your pool isn’t in use.

Use a standard test kit and then add the proper chemicals to balance your water chemistry to your pool’s standard levels. Take special consideration of your chlorine levels before closing your pool. If your chlorine is higher than 5.0 ppm (parts per million.) If it’s too high, it might interfere with other chemicals used to winterize the pool and prevent them from working properly.

Step Three: Add Winterizing Chemicals

About a week before you intend to close your pool, you should add winterizing chemicals to your water to ensure that the water chemistry stays optimal throughout the winter. The chemicals needed can vary based on the type of pool you have, but at the very least you’ll need two chemicals:

  1. A phosphate remover or algaecide to prevent algae growth
  2. A stain and scale chemical to prevent mineral buildup

Step Four: Shock the Pool

The night before you close your pool, use a commercial pool shock to give it a final blast of cleaning power. Follow the manufacturer’s instructions and let the shock sit overnight while your pump runs to get the most benefit out of the chemicals.

Step Five: Reduce the Water Level

Before you put the cover on your pool or finish the other closing steps, make sure that you have an optimum water level for your pool cover type. If you have too much water in your pool over the winter, it can freeze and damage your skimmers or other parts of your pool.

The proper water level for your pool depends on the type of pool that you have and the cover that you’re using over the winter. In general, you want to keep the water level just below your skimmer or tile line, but no more than 18 inches from the top edge of the pool. Use a pool pump to

Step Six: Clean the Filter

Your pool’s filter can get dirty over the course of the summer, and you don’t want all the dirt and bacteria just sitting there all winter long. Before you close your pool for the season, turn off your pool pump and clean your filter thoroughly using your manufacturer’s instructions.

There are three types of pool filters: sand filters, cartridge filters, and diatomaceous earth (DE) filters. The cleaning process for each filter type may vary a bit, but in general, you’ll want to either backwash your filter or clean it with a hose and use cleaning chemicals if necessary to sanitize the filter before reinstalling it.

Step Seven: Empty the Pump Lines

It can get quite cold in Cincinnati over the winter, which means it’s imperative to empty your pool lines, pump, and filter of all water to properly winterize your pool. Water left in the lines over the winter can freeze, causing pipes to crack or burst and costing you money in damages.

This step is difficult, so it’s recommended to have a professional like Cincinnati Pool and Patio do this if you’re not confident enough to do it yourself. If you do want to attempt a DIY method, use an air compressor or shop vac to blow air through your system until everything is dry.

Step Eight: Remove All Pool Accessories

Before you cover up your pool and call it a day, remove all pool accessories from your pool so they don’t get damaged during the winter. Ladders and rails should be removed, as being exposed to winterizing chemicals for long periods of time can damage the finish on them. Dry them off thoroughly and store them in a clean, dry environment for the winter. Pool toys, slides, and other items should also be cleaned, dried, and stored away until next summer.

Step Nine: Cover the Pool

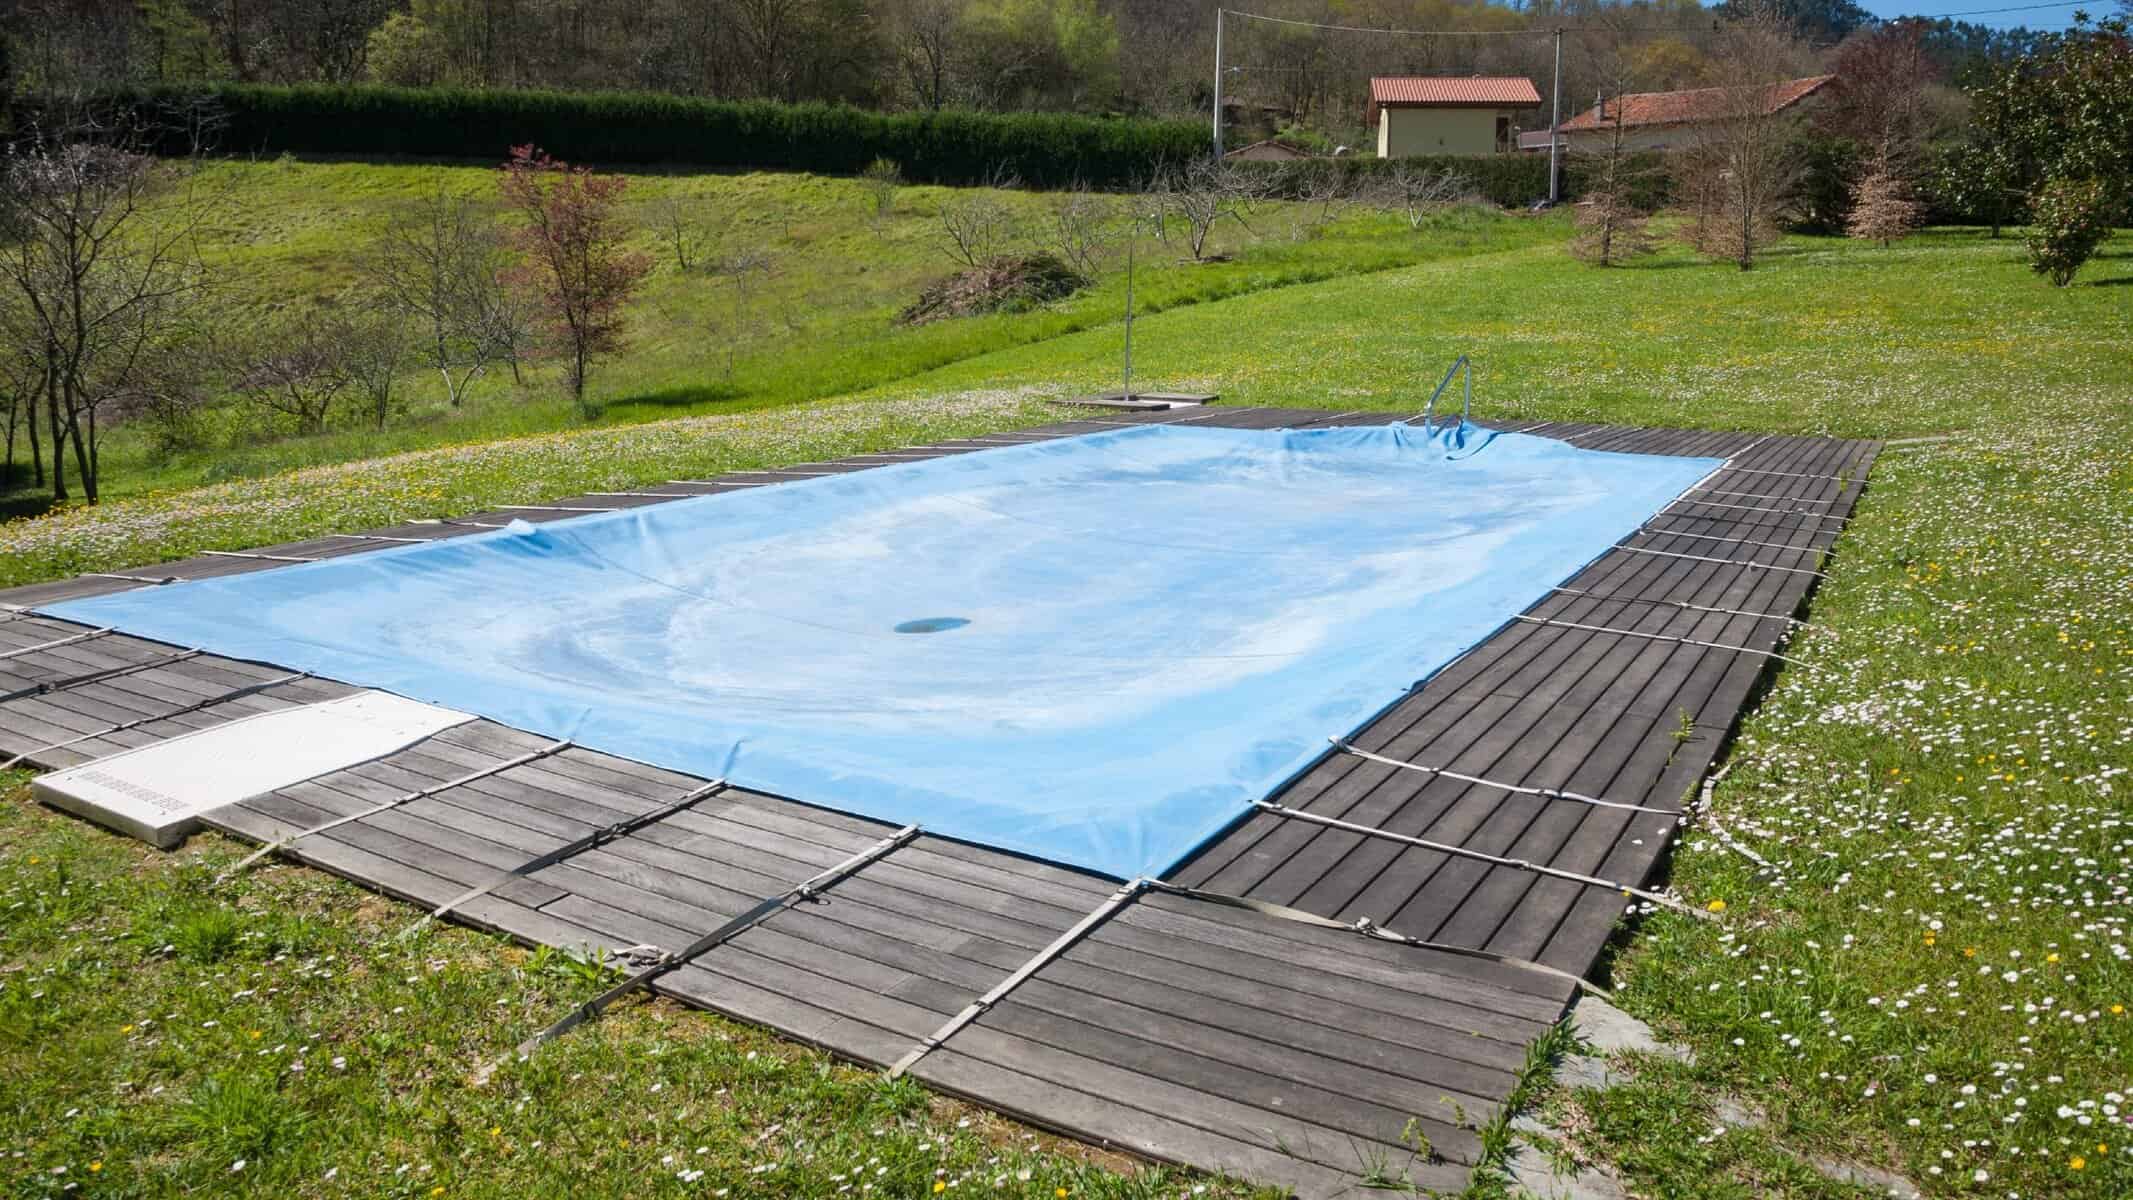
Finally, you will need to cover your pool for the winter and fasten it properly. The installation process of your pool cover will depend on the type of cover you use. Follow the manufacturer’s instructions, and make sure that the edges are sealed properly, so no dirt or debris can get into your pool over the course of the off-season.

Periodically clean off the top of your pool cover over the winter to keep it free of debris and snow using a soft broom or squeegee. Don’t use anything sharp, like a rake, to clean off your pool cover, or you risk puncturing the cover and ruining all your hard work of winterizing!

The Professionals with Cincinnati Pool and Patio can Help Close Your Pool

Closing your pool can be a lot of work but making sure it’s done properly will ensure that your pool opening in the spring will run smoothly. The experts at Cincinnati Pool and Patio can close or open your pool for you, so you know that it’s done right. Schedule your pool closing before our schedule books up for the fall or get in touch with us for questions about how to close your pool.

Pool Opening 101: How to Open Your Pool for the Summer

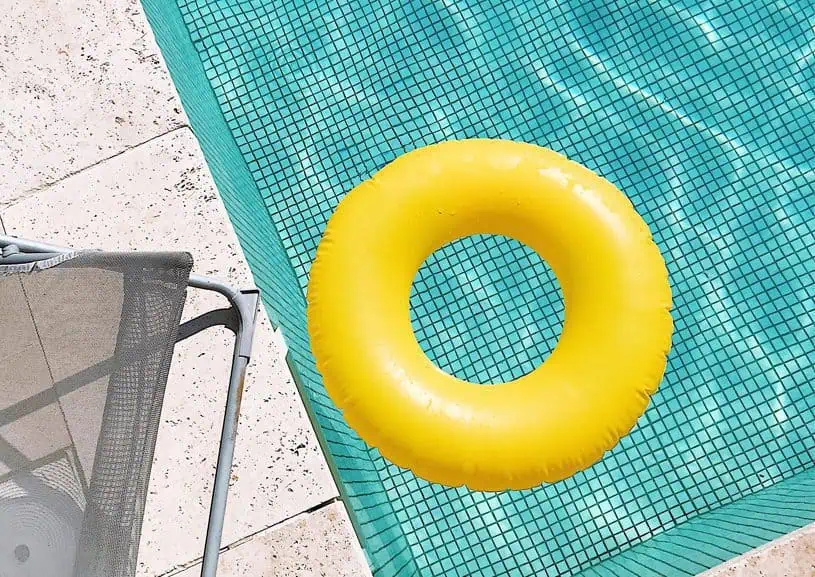
Flotation Device in Pool for Pool Opening

Summer is just about here, and that means it’s time to think about swimming. If you’re a pool owner, you may have been longingly staring at your pool just waiting for the weather to be warm enough to enjoy it again. There’s nothing better than lazy summer afternoons spent by the pool. However, for even the most seasoned pool owner, there’s a lot of work that goes in to opening your pool for the summer season. The multi-step process can seem like a lot, but we’ve broken everything down into three simple sections so you can open your pool with ease. Follow our pool opening guide and you’ll be ready for summer in no time!

Step One: The Pool Cover

Your pool cover likely has gotten fairly dirty over the course of the winter. Standing water, leaves, and other debris are probably all floating on the top of the cover, creating a wintertime eyesore and a headache to clean up. But rest easy knowing that at very least your pool cover has done its job, and it’s just a couple simple steps to getting it clean and ready to store away for the summer.

Use a pool cover pump to remove the standing water from the surface of your pool cover. Once the water is gone, you can use a soft broom or skimmer to brush any debris from the cover that may still be left. Be gentle so as not to tear your pool cover. Try to remove as much debris from the cover as possible during this step, so that you don’t have much to scoop out of your pool later.

Once your cover is clean, get a friend or family member to help you remove the cover from the pool. Go slowly to avoid spilling excess debris into the pool water. Some will likely fall in anyway despite your best efforts. You can remove the rest of the debris later before you chemically clean the water.

Lay out your pool cover on a flat surface and rinse it off with the garden hose. Then, use cover cleaning solution or a diluted bleach solution to scrub and clean your pool cover. Use a soft broom or sponges to avoid damaging the pool cover. Rinse the cover and allow it to dry or dry it off with a leaf blower before storing it. Note that if you leave the cover out on your grass for too long, it may cause damage to your lawn, so drying the cover with a towel or leaf blower may be your best option to get it completely dry. Store the pool cover in an airtight, heavy-duty container with a lid to keep out bugs and other pests and to keep your cover in good condition for the fall.

Step Two: Prepare the Pool

Now that your pool is uncovered, it’s time to prepare it for use. First, take a moment to skim large debris from the surface of the water with a pool skimmer or net. Doing this first before adding water or turning on the filtration system will prevent large debris from getting stuck in the filtration system and causing a problem later. Take your time and remove as much debris as you can so the filtration system and chemicals don’t have to work as hard to clean the water.

Once the surface of the water is cleaned up, you’ll need to remove the winter plugs from your skimmers and reinstall the regular drain plugs in your pumps, filter, heater, or other equipment. You may notice some air bubbles as water flows back into the pipes when your winter plugs are removed. This is normal, and the bubbles will dissipate shortly.

With the winter plugs removed, reconnect your pool equipment and filter. You’ll want to inspect each component thoroughly to make sure it was not damaged over the winter before you turn the systems on for the summer. The pump, filter, heater, and other systems should all be inspected one by one. Clean your filter if necessary.

Lastly, you’ll want to reconnect and reinstall any pool accessories that you took down for the winter, such as ladders, slides, and diving boards. This is a good time to lubricate the bolts used for these items, and grease the hinges on your diving board, so be sure to check that everything is in proper working order before letting you or your family use the accessories.

Step Three: Water and Clean

Shew! We’re nearly there! Now that all the systems are working properly, it’s time to make sure the water is cleaned and ready for action. First, if you lost any water over the winter, you’ll want to refill your pool with the garden hose until the water level is even with the skimmers. Once you have the correct amount of water in your pool, remove any excess dirt that your filtration system may not pick up. Use a pool brush to scrub the walls of your pool and finish up by using a pool vacuum to vacuum dirt and debris from the pool floor and stairs. The water may still be murky at this point—this is okay! The chemicals will take care of the rest.

Next, balance the water in your pool. You can use a testing strip to determine which chemicals you’ll need to add to get the water to the correct levels. As a rule of thumb, for inground pools, the following levels are the baseline you want to reach:

  • pH – 7.2 – 7.6
  • Total Alkalinity- 120 – 150ppm
  • Calcium Hardness – 200 – 250ppm (Concrete Pools)
  • Calcium Hardness – 175 – 225ppm (Vinyl Pools)
  • Free Chlorine – 1 – 3ppm
  • Free Bromine – 3 – 5ppm
  • Metals: Copper – 0ppm
  • Metals: Iron – 0ppm

Follow package directions for each chemical used, and wear gloves if needed. Once your water is balanced, the last step to get crystal clean water is to shock your pool. Double shocking is recommended when opening your pool to kill any algae spores, bacteria, and other nasty stuff that may be lurking in the water. Two pounds of shock per 10,000 gallons of water is recommended but follow package directions when in doubt. Make sure to use safety goggles and gloves when pouring shock into your pool.

Now that you’ve added the proper chemicals to the water, it’s time to let them and your filtration system get to work! Allow the filter to run for 24 hours and test the water again before swimming. In the meantime, while you wait for the water to clean, use a broom or mop to clean up any dirt from your pool deck that may have accumulated over the winter. A clean deck will add that finishing touch to your pool space and make the water seem that much more inviting!

Ready for Summer!

Voila! Your pool is now open and ready for action! Get out the bikinis and board shorts and do a cannonball to celebrate a job well done. For more tips and tricks or to get expert advice on all your pool needs, get in touch with us! And if you’re unsure if you can open your pool yourself, or you just think you need a little help, you can always schedule your pool opening with us and our experts will do it all for you!

7 Easy Tips For Closing Your Pool This Fall

In Ground Pool Closed Tips

Closing Your Pool

With summer gone, it’s time for above ground pool owners to close down their pools. Winter brings frigid temperatures and ice can cause thousands of dollars of damage to pools that aren’t prepared correctly. That makes properly closing down your pool an essential part of pool maintenance. Here are our key steps to prepare you for closing your pool.

In-Ground Pools

The first task in prepping your pool for its winter nap is to make sure the water chemistry is correctly balanced to last through the winter without corroding or forming scale on the sides of your pool. This will also keep the thousands of gallons you have in your pool clean and ready to use next summer.

Next, cycle the water through the pump and filter for a few days until chlorine levels to return to normal. Then add winter algaecide.

On closing day, clean the pool one last time. Be sure to use a brush on the walls and the bottom to clear any leftover algae or silt. Drain water from the pump, filtering, and heating systems.

It’s a general practice to drain the pool below the mouth of the skimmer inlet. The idea is to keep water out of the filter and pumping system. While this sounds convenient, freezing may be an issue if you have tile at the waterline.

Above-Ground Pools

You’ll need to remove and store pumps and filters. Insert plugs into the pool filter water intake and outflow openings (usually in the pool’s sidewall). Disconnect all hoses from the pool and let it drain. Disconnect and drain all water heaters, filters, skimmers, automatic chlorinator, or salt chlorinator, and then store these in a warm, dry place like your basement.

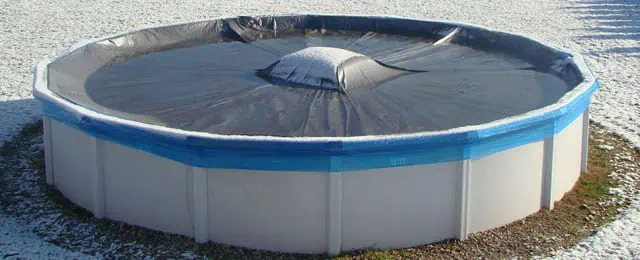
Lastly, inflate and deploy the pool pillows and cover the pool. Be sure the cover is secure so that it won’t blow away and that there is enough support from the pillow underneath so that ice meltwater will drain easily from the cover. Otherwise, ice and meltwater can stretch and tear the cover and contaminate your pool water.

Closing down your pool may sound like daunting maintenance job, but it’s something that can be finished in the span of a week but a mistake could cost you thousands.

There’s a lot more to it than just slapping a cover on and calling it a day.

Let’s take a look at what you need to do to get your swimmin’ hole ready for its long winter’s rest.

1. Get the timing right

Closing your pool too early can encourage algae growth and make your job a whole lot harder when it’s time to reopen the following spring.

Make your life easier and enjoy your pool longer by waiting until late summer.

If your pool is heated, you can get away with waiting until October.

A good rule of thumb is to wait until the water is consistently lower than 65 degrees before closing.

Begin the process about a week before you actually want the pool to be closed.

2. Clean it up

Brush the sides and bottom of your pool and then vacuum it. A thorough cleaning before closing for the season will help to prevent algae growth and lighten your workload when it’s time to open it back up.

3. Test the waters

It’s best to take a sample of your pool’s water to a reputable pool store to have it tested.

You’ll want the pH to be between 7.4 and 7.6 and the alkalinity to be between 100 and 150 ppm.

Shoot for the top of these ranges when you’re closing your pool for the winter.

4. Add the chemicals

The winterizing chemicals you’ll add to your pool are:

  • A pH increaser and/or an alkalinity increaser.
  • Sanitizer, such as Chlorine or Bromine.
  • Chlorine shock.
  • Winter algaecide.

Keep in mind that the chlorine shock will destroy the algaecide.

The best course of action is to add the shock five to seven days before closing your pool, and then waiting to add the algaecide until right before you put the cover on.

5. What about the filter and pump?

Remove the drain plugs and allow the pump to drain. Remove the pump and all the hoses that are attached. If you have a chlorinator, that should be removed at this time as well.

If you keep all the drain plugs in the pump basket, you’ll know right where they are and you won’t risk them getting misplaced.

The hoses, pump, and chlorinator will last longer if you store them inside during the cold winter months.

No matter what type of filter you have, it will need to be removed and cleaned before storage. Filters should also be stored inside, with the exception of a sand filter, which may be too large and/or heavy to take indoors.

6. To drain or not to drain?

There is some debate about the validity of lowering the water level for the winter. This issue revolves around protecting the skimmer from cracking due to freezing temps.

For an above ground pool, removing the hose from the skimmer and using a winter skimmer cover plate will remove the need to drain the pool at all. The normal level will actually be better.

An inground pool is a bit different. Your best bet is to hire a professional to come and blow out the pipes. They can insert a rubber piece that will protect the skimmer from damage in the freezing cold. If this is done, you won’t need to drain the pool.

If you have tile on the sides of your pool, you should lower the water level to about 4 inches beneath the tile. This will prevent it from possible damage.

At this point in the process, it’s also the best time to remove ladders and any other accessories that can be stored.

7. Cover it up

An above-ground pool will need an air pillow beneath the cover.

You can use clips and cables to secure your cover.

An in-ground pool doesn’t require an air pillow but should use clips to secure the cover.

The long wait for spring

You’ve cleaned and scrubbed, added chemicals and covered up your pool.

Following these maintenance tips gives you the best chance of not having any unwelcome surprises come spring. Have any questions about closing your pool? Contact us here. 

How To Get Ready For National Pool Opening Day

national pool opening day

National Pool Opening Day

There is a national holiday for each date on the calendar and also for every subject under the sun, but National Pool Opening Day is a holiday we can all rally round.

Schedule Your Pool Opening Today

As a pool owner, you understand there’s a lot of things that go into opening your pool. National Pool Opening Day is an amazing reminder to prepare for the summer season!

Test the Water First

Once you peel the winter cap and realize the challenge before you, begin by assessing your pool chemical levels. A good water test kit is important for testing your pool’s chemical balance.

When stocking up for summertime on pool shock and pills, don’t forget to purchase water balance chemicals for pH, alk, and calcium. You might also need an algaecide to control algae. And a water clarifier to remove finer particles out of the water.

Pool equipment

Examine the pool gear, mainly the filter and pump, but also other pool equipment like pool valves, chlorinators, heaters, cleaners, skimmers, ladders, slides and diving boards.

Start looking for any soil, mulch, trees or nearby plants that may get in the way of your equipment. Pool equipment does better in a sunny, dry location and not buried in bushes.

Pool cleaners have wearable components, and generally, require more frequent repairs than other pool equipment. Inspect closely for the cleaner parts that contact the surface, or debris totes or hose components that are worn.

Pool filters, either sand, DE or cartridge will need the filter press replaced at a single point. Sand lasts about 5 decades, DE grids for ten decades, and filter capsules 2-3 years for a good-sized filter. You can prolong the life and improve filtration by using a Pool Filter Cleaner before and after opening your pool.

Pool pumps have electric motors that will fail at some point in time, usually at spring startup, or at the hottest aspect of the summer. When your motor will not turn or trips the breaker, it might be a loose cable, triggered GFCI or it might be an engine that is fried. Pumping problems may be air leaking to the pump, or a clogged impeller, or the water level.

Pool Accessories

Pool Ladders, Slides & Diving Boards possess a lot of bolts that need to be checked for tightness. Notably the step treads, which can loosen over time.

Chlorinators are normally easy to care for, but the chlorinator lid o-ring needs to be lubed often to protect the o-ring from the chlorine.

Pool Heaters

If you have a pool heater, the best spring maintenance you can do is clean out the base of the device to remove any leaves, cobwebs, and anthills. Make sure the air vents and drain holes aren’t blocked in the cabinet. If leaves have collected inside a heat pump, or in addition to a gasoline heater exchanger, remove the heater top to wash out them.

Above-Ground Pools

Above ground, pools will join the hoses or pipes from the wall skimmer to the pool filter and then to the pool pump, and back to the pool return. Open the filter air bleeder, open the lines to be flooded by the valves and fill the pump with water. After being sure that the return and suction valves are available plugs the pump into a grounded electrical socket, and the pool skimmer and wall return aren’t plugged.

Inground Pools

Inground pools equipment reassembly is a bit more complicated, but it begins the same way, by screwing the drain wires back to the pump, heater, filter. Together with the water level up, pool plugs can be pulled out of the skimmer and wall contributes to flooding the lines. Contrary to Above ground pools, inground pumps sit above the water level. Fill the pump with water from a hose or hose, and seal. Open the filter air bleeder, open the return and suction valves, and then turn on the pump. Start-Up with a multiport valve on the ‘Waste’ place is a fantastic way to flush out the skimmer and drain, and it has much less resistance too, great for pumps that have difficulty ‘grabbing prime’.


National Pool Opening Day is the last Saturday in April. Make it your annual tradition to join us in welcoming spring by opening your pool! In case the final Saturday is too soon to start your pool, then join in by cleaning off your pool cover and prepping it to open when it’s warm enough. If you open the pool in May, it is the ideal time to examine your pool water.

If you need help opening your pool, contact us today!

3 Chemicals You Need To Open Your Pool

chemicals

3 Chemicals You Need To Open Your Pool

Pool season is almost here and as every pool owner knows, it’s better to be prepared than not. Most people will want to automatically start adding in adjustment chemicals, but this is a mistake.

The best and easiest way to open your pool is to start with a clean and fresh base. Here are the chemicals we recommend using before you open your pool.

Stain and Scale Chemicals

This chemical will prevent scale, rust, and other stains from appearing in your pool. This is a great prep to make sure your pool is clean right from the start.

Algaecide

Algaecide will help remove most of the oxygen from the water, to prevent any algae or other organic material from growing. The mixture should also kill any algae that are already currently in your pool from the winter season.

Chlorine

Last, but not least, you need to add chlorine. To open your pool, you’ll want to add double the amount of chemicals that you would do for a regular shock.

Doubling them will help kill any bacteria, algae, and anything else that was growing over the winter.

Next Steps

Your pool isn’t swim-ready yet, especially after you had just added all of these chemicals.

Give your pool at least 48hrs before you test the water again. Bring your sample to the pool experts, and we can help you decide what you need for your pool.

Contact us here or visit us at our Evendale location.

Cleaning Your Pool: Broken Glass

cleaning your pool

Cleaning Your Pool: Broken Glass

Broken glass near or in a pool is a hazard for your family and guests, and cleaning your pool in this event is a delicate process.

Not only is it hard to see in the pool or on the ground, but it’s also difficult to clean in a safe way.

Here are 3 ways we recommend cleaning your pool in the case you have broken glass in your pool.

1. Use a net

Use your pool net to scoop out the large pieces of glass from your pool. You should do this from the outside of your pool. The risk of stepping on the glass as you’re cleaning it up is too high.

You should try to scoop up as much as you can, to avoid large piece getting into your pump.

2. Vacuum

Once you’re sure that there are no more large pieces of glass in the pool, you can start vacuuming the glass out of the pool. You should do this slowly, and make sure you’ve listened for any weird noises that may come from a big piece of glass. If a big piece of glass gets stuck in the pump, you’ll need to call in a professional for help.

3. Drain Your Pool

If the amount of glass requires it, you may have to drain your pool to take care of it.

Turn off your pump and drain your pool. Once the water is gone, you can use a broom to sweep the glass out of the pool.

Draining your pool can be a serious task, and you’ll likely need the help of a professional.

Don’t hesitate to contact us to help you drain your pool. We service all pools!

The 4 Easiest Ways to Open Your Pool for 2018

open your pool

Open Your Pool

We know there’s still time before pool season starts. But there’s no harm in being extra prepared when spring rolls around. There’s, unfortunately, some necessary tasks and work that needs to be completed before you can open your pool for the season. If only there were some ways to make this daunting task seem easier. Luckily, we are here to help you with four time-saving tips to open your pool.

Adjust your filter basket to catch tiny debris:

If your pool is looking cloudy or filled with very small particles of leaves and other debris you can help your pool filter by stretching a piece of pantyhose over the filter basket. Then, by just running your filter for a while, you will be catching the finer particles. You can also stretch the pantyhose over your pool skimmer while you are using it. This will help you to collect the small bits and also assist in cleaning the skimmer. When the pantyhose are full, just toss away and add a new piece.

Use your sump pump:

If you’ve had a cover on the pool for the winter, chances are some water has pooled up on it. You can utilize your sump pump to drain the water off before you try to move it. This will help to eliminate excess debris from falling into your pool and also make the cover much easier to move and open your pool. (You can also create a siphon effect with your garden hose to remove water from the top.)

Clean your deck area first:

Always sweep and clean your decking before you begin to clean your pool. Nothing will frustrate you more easily than watching leaves from your deck blow into your freshly skimmed and vacuumed pool.

Brush and Vacuum with a purpose:

When cleaning your pool make sure you start in the shallow end and work your way toward the deep end. Gravity will help to collect debris at the bottom of the deep end as you work your way in that direction.

Want help creating the perfect outdoor oasis? Contact Cincinnati Pool & Patio for ideas on making your pool the highlight of your home.

Winter Pool Care Tips

winter pool

Winter Pool Care Tips

For any pool owner, it’s important to take care of your winter pool to ensure you can use it during the next season.

We understand that it’s hard to know EVERYTHING you need, so we’ve compiled a short-list to help you care for your pool this winter.

Give it the Winter Pool Treatment

Before settling your swimming pool down for winter, perform some water testing to ensure the chemicals are balanced. You’ll want to make certain the pH and alkalinity of the water are at appropriate levels. Testing kits can be purchased from your local pool maintenance experts, and you can contact them with any concerns about chemical imbalances. Shock treatment may also be a good choice for your swimming pool.

A shock treatment involves giving your pool a very large dose of chlorine. Boosting its cleanliness and health for a longer period. Lastly, a quality algaecide should also be added to the pool water as this will aid in preventing unwanted algae growth. While adding these chemicals to your pool, be sure to run the filter for a few hours, to ensure the chemicals are spread evenly throughout the water.

Continued Winter Pool Maintenance

During the winter months themselves, you won’t need to spend a great deal of active time maintaining your pool. However, the filter should be run for several hours each week to keep the water from growing too stagnant. And to keep chemicals flowing properly. Additionally, you should perform water tests every few weeks to ascertain that the chemicals are still at the correct levels.

Following this simple plan of winter maintenance is a breeze. So when the temperatures rise and the bathing suits come out, your pristine swimming pool will be ready for you.

Have any questions about keeping your pool in top shape this winter? Contact us here!

Pool Closings Part 2: In-ground Pool Edition

in-ground pool

In-Ground Pools

With summer gone, it’s time for in-ground pool owners to close down their pools. Winter brings frigid temperatures and the resulting ice can cause thousands of dollars of damage to pools that aren’t prepared correctly. That makes properly closing down your pool an essential part of pool maintenance. We’d like to recommend these key steps to prepare your pool for fall weather and beyond.

In-Ground Pools

The first task in prepping your pool for its winter nap is to make sure the water chemistry is correctly balanced to last through the winter without corroding or forming scale on the sides of your pool. This will also keep the thousands of gallons you have in your pool clean and ready to use next summer.

Next, cycle the water through the pump and filter for a few days until chlorine levels to return to normal. Then add winter algaecide.

On closing day, clean the pool one last time. Be sure to use a brush on the walls and the bottom to clear any leftover algae or silt. Drain water from the pump, filtering, and heating systems.

It’s a general practice to drain the pool below the mouth of the skimmer inlet. The idea is to keep water out of the filter and pumping system. While this sounds convenient, freezing may be an issue if you have tile at the water line.

Looking for help closing your pool this year? Contact the experts here!

Pool Closings Part 1: Above Ground Edition

above ground

With summer gone, it’s time for above ground pool owners to close down their pools. Winter brings frigid temperatures and ice can cause thousands of dollars of damage to pools that aren’t prepared correctly. That makes properly closing down your pool an essential part of pool maintenance. Here are our key steps to prepare your pool for fall weather and beyond.

Above Ground Pools

You’ll need to remove and store pumps and filters. Insert plugs into the pool filter water intake and outflow openings (usually in the pool’s sidewall). Disconnect all hoses from the pool and let it drain. Disconnect and drain all water heaters, filters, skimmers, automatic chlorinator, or salt chlorinator, and then store these in a warm, dry place like your basement.

Lastly, inflate and deploy the pool pillows and cover the pool. Be sure the cover is secure so that it won’t blow away and that there is enough support from the pillow underneath so that ice meltwater will drain easily from the cover. Otherwise, ice and meltwater can stretch and tear the cover and contaminate your pool water.

Closing down your pool may sound like daunting maintenance job, but it’s something that can be finished in the span of a week but A mistake could cost you thousands.

If you don’t feel confident enough to do the job correctly yourself, give us a call! We offer above ground pool closing services.